Friday, April 24, 2015

Wellsville Mountains

The Wellsville Mountains of northern Utah rise abruptly between the Bear River plain to the west and the southern portion of Cache Valley to the east.  Though only moderately high in elevation, they are considered one of the steepest mountain ranges in the world – averaging four to five miles wide at the base and rising about 5,000 feet above the valley floor.  In 1984 the area was designated as the Wellsville Mountain Wilderness Area to further protect it from the overgrazing that was quite common in earlier years.  Today the range is seeing increasing populations of deer, moose, and mountain lions.  Since it lies along a major migratory route for birds, the Wellsville Mountains are also a popular place to observe different types of birds, particularly hawks.  Access to the summit ridgeline is easiest from the Cache Valley side of the range where there are three trailheads.  The ones mentioned in this post include the Maple Bench Trailhead and the Rattlesnake Canyon Trailhead.
When I did this hike we started at the Maple Bench Trailhead and returned the same way since we had only one vehicle.  Another vehicle parked at the Rattlesnake Canyon Trailhead however, would have allowed us to hike the remaining portion of the summit ridge.  To reach the Maple Bench Trailhead from U.S. Highway 89 to the south, turn left (north) onto Center Street (SR 23) at Wellsville and drive around 6.6 miles through town and beyond to reach Main Street in Mendon.  Make a sharp left turn (south) onto Main Street and then turn right (west) onto 1800 South, which changes to dirt.  Follow 1800 South westward, then southward, and then westward again to reach 6400 West.  Take the right (west) fork at 6400 West and continue southwest along the road for the remaining two miles or so to reach the trailhead.  We started hiking from Gibson Canyon, but you may be able to drive further along the road depending upon its condition.  This same trailhead can be reached from Logan by taking 200 North (SR 30) from Main Street (U.S. 89) and driving westward approximately 7.6 miles to reach SR 23.  At SR 23, turn left (south) and drive about 3.5 miles through Mendon to reach Main Street, veering to the right (due south) along Main Street to reach 1800 South.  The Rattlesnake Canyon Trailhead is located along the north side of U.S. Highway 89 as it curves into the upper part of Wellsville Canyon.  Keep in mind that there is no break in the center highway barrier to allow for left-hand turning into the trailhead area.  Northbound travelers must continue driving until the center barrier ends and then double back on the other side of the highway to reach the trailhead.
Coldwater Lake above the Maple Bench
Trailhead  Photo credit: SummitPost
Box Elder Peak looms just over a
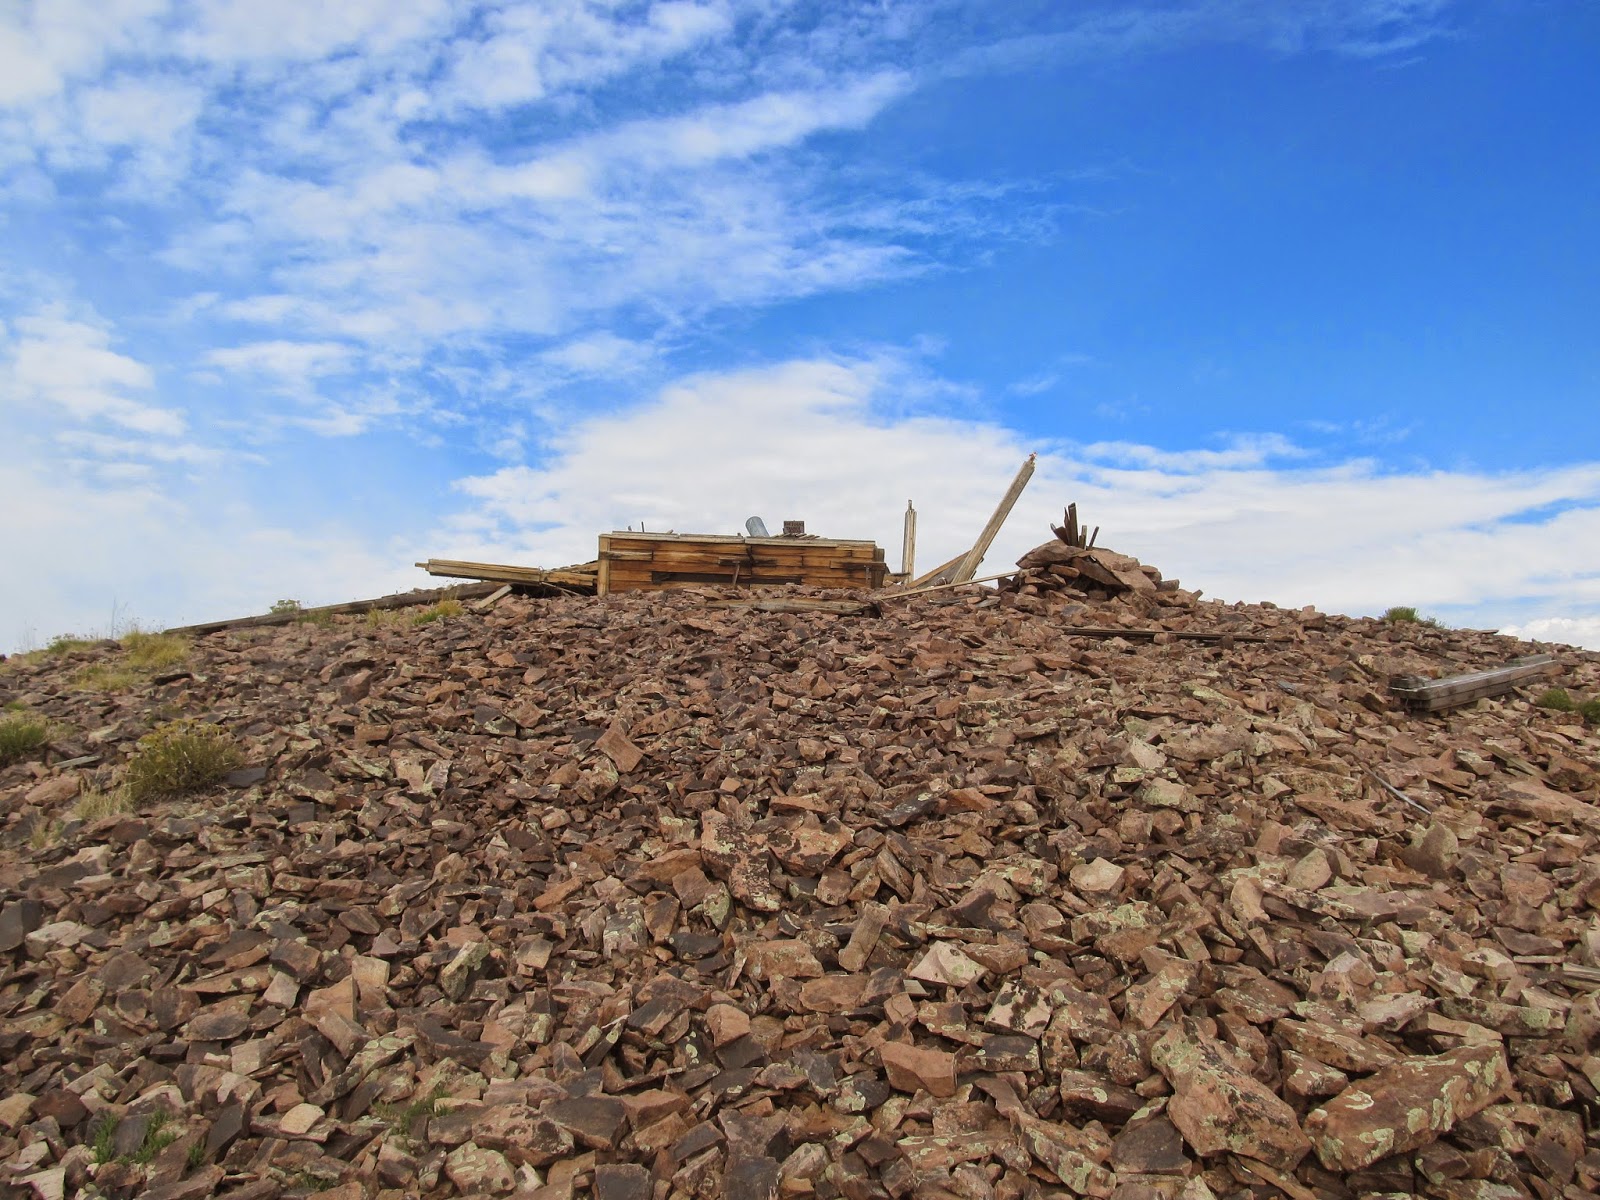
half-mile from the Wellsville Cone


For the first mile or so along Maple Bench, the trail makes a gradual climb around the lower ridges; past Coldwater Lake, which is the only official lake in the Wellsville Range.  Beyond Coldwater Lake the trail becomes steeper for the next two miles as it switchbacks up the mountainside to Stewart Pass at 8,376 feet elevation.  From Stewart Pass it's another 1.6 miles southward along the summit ridge to reach the Wellsville Cone.  Box Elder Peak is the highest point in the Wellsville Mountains at 9,372 feet, and reaching its summit is about a three-quarter-mile hike south of the Wellsville Cone.  While the Rattlesnake Canyon Trail provides a shorter distance to Box Elder Peak (4.0 miles one-way), it has 500 feet more elevation gain than the Maple Bench Trail.  Be sure to take plenty of liquids with you as there are no real sources of drinking water along the entire route.  Distance from the Maple Bench Trailhead to the summit of Box Elder Peak is approximately 5.5 miles one-way with an elevation gain of about 3,480 feet.
View from the Wellsville Cone looking
into Cache Valley over the towns of
Wellsville and Hyrum

Saturday, November 29, 2014

Naomi Peak

Logan Canyon east of Logan, Utah is one of the prettiest canyons to drive through – particularly during the autumn season when the leaves are changing color.  It not only provides the main access route to Bear Lake, but contains many recreational opportunities in and of itself.  A popular spot for camping, fishing, and hiking is Tony Grove Lake, which is also the main access point for Naomi Peak.  Naomi Peak is the highest point in the Bear River Range as well as the top of Utah (the area of Utah north of the 41st parallel of latitude).  The area north of Tony Grove Lake has been officially designated as a wildflower viewing area by the Forest Service.  Here you can walk among colorful displays of mountain wildflowers that reach their peak during the mid to late summer months.  When I last visited this area there was a $3.00 charge per vehicle for day use at Tony Grove Lake.
To reach the Naomi Peak trailhead from Main Street in Logan, turn east onto 400 North (U.S. 89) and drive approximately 21.7 miles up Logan Canyon to the Tony Grove Lake turnoff.  Turn left (west) and then left again (south) to access the Tony Grove Road.  Continue driving along the road that makes several switchbacks up the mountainside to reach the parking area at about 6.8 miles from the main highway.  The trail begins at the northwest edge of the parking loop approximately 900 feet beyond the turnoff to the campground.
Tony Grove Lake not far from the
trailhead – Photo credit: Keviin PC
Quartzite rock terraces near the trail with
Tony Grove Lake in the background


Beginning at the trailhead, take the right (east) trail that leads toward Naomi Peak and White Pine Lake.  This trail forks again after about a quarter-mile where a sign directs you to the left (west) trail for Naomi Peak.  Within the next half-mile the west trail curves westward and becomes steeper past some quartzite rock terraces.  Here you begin to gain a broader view of the surrounding landscape and absorb the beauty of it all.  At close to 2.0 miles from the trailhead, an optional climb to Mount Magog can be taken by leaving the main trail towards the pointed summit to the north-northeast that is surrounded by cliffs.  This is mainly a Class 2 off-trail climbing route as long as you stay along the southwest ridge.  Meanwhile, the main trail continues westward for about one mile to the ridgeline just below Naomi Peak, which forms part of the east boundary of the Mount Naomi Wilderness Area.  From here it's an approximate 0.2-mile climb southward to reach the 9,979-foot summit.  Spectacular views of Cache Valley to the west and Idaho to the north can be seen from this vantage point.  Distance from the trailhead to the summit of Naomi Peak is approximately 3.2 miles one-way with an elevation gain of about 2,000 feet (taking into account a 90-foot loss).
The final climbing route to the
summit of Naomi Peak
A brass-cap monument at the
summit of Naomi Peak

Thursday, October 16, 2014

Wyoming Peak

Back in my earlier hiking days when we lived in Wyoming, there was one occasion when I hiked to the top of Wyoming Peak.  This summit is the highest point in the Wyoming Range of west central Wyoming, and it offers much more peace and solitude than the more popular hikes in the Tetons to the north.  The Wyoming Range is part of the Overthrust Belt that extends through much of eastern Idaho and Utah, and western Montana and Wyoming.  It contains vast amounts of oil and natural gas to feed our continual need for energy.  Yet as efforts to extract these natural resources increases, stricter regulations will be necessary to protect the environment and pristine beauty of the region.  Though not a particularly impressive peak in and of itself, Wyoming Peak offers spectacular views in all directions and is certainly worth climbing.
There are actually two main approaches to Wyoming Peak; one from the Greys River to the west and the other from Middle Piney Lake to the east (which is the route I took).  To reach Middle Piney Lake from U.S. 189 (Front Street) in Big Piney, turn left (west) onto Budd Avenue (SR 350) if coming from the south, or right (west) if coming from the north.  After four blocks turn right (north) onto Nichols Street, which curves westward into Piney Drive past Big Piney High School.  This road eventually turns into Middle Piney Road to the Bridger-Teton National Forest boundary (approximately 20.3 miles from U.S. 189).  At around 1.9 miles past the forest boundary, fork to the left (westward) onto Forest Road 10024 and follow it the remaining 3.8 miles to Middle Piney Lake.  The national forest section of the road is graded dirt that can have snow extending into June.
Middle Piney Lake with the Wyoming Range
in the background taken near the trailhead
Lower Wohelo Falls near the
halfway point along the trail


Near the end of the road next to the Middle Piney Lake Campground is the Middle Piney Trailhead.  For the first mile or so the trail follows near the south shore of the lake, where there are plenty of places to go fishing.  At approximately 1.7 miles the route crosses Middle Piney Creek near the end of a large meadow that extends to the lake.  This area is a prime habitat for bear and moose, and hikers should take the necessary precautions in case of an encounter.  About 2.4 miles along the trail, Wohelo Falls cascades down the mountainside with the lower part of the falls not far from the main path.  The trail then splits just over a quarter-mile beyond Wohelo Falls, where the right fork is taken north for another half-mile to its junction with the Wyoming Range Trail.  Following the Wyoming Range Trail northward (right) will take you above the timberline to a saddle at approximately 10,400 feet elevation.  From the saddle it's about a three-quarter-mile scramble towards the left (west and south) to reach the 11,378-foot summit of Wyoming Peak.  A lookout shelter at the summit was used by fire spotters until the early 1960s.  When I hiked to the summit in 1985 the shelter was in disrepair, but still standing.  More recent photos however, show that this is no longer the case.  Distance from the Middle Piney Trailhead to the summit of Wyoming Peak is approximately 5.1 miles one-way with an elevation gain of just over 2,500 feet.
Shelter at the summit of
Wyoming Peak taken in 1985
The summit of Wyoming Peak taken
in 2010 – Photo credit: Castlereagh

Wednesday, September 17, 2014

Darby Wind Caves

Another spectacular hike along the west side of the Tetons is the Darby Wind Caves hike.  This is a moderate day hike that takes you up the South Fork of Darby Canyon through beautiful evergreens and meadows.  Since accessing this area is mainly from Idaho, it is easy to assume that the hike falls in Idaho, yet it is actually in Wyoming.  Depending on the season and/or time of year, there can be a lot of water flowing out of the canyon, including Wind Cave itself.  The main cave has a large opening measuring approximately 120 feet tall by 25 feet wide, which appears as a slit in the canyon wall that can be seen long before reaching it.  In 1951 a tragedy occurred when four young women and an adult leader were killed by lightning as they were seeking shelter near the cave from a summer thunderstorm.  A monument in their honor lies just below the entrance to the cave, and a story about the incident can be found at the following link: http://proud2blds.blogspot.com/p/darby-canyon-girls-camp-lightening.html
To reach the Darby Wind Caves trailhead from Driggs, Idaho, go south of the traffic light along Main Street (SR 33).  At approximately 3.0 miles (0.7 miles south of the Spud Drive-In Theater entrance), make a left turn (east) onto 3000 South.  This road can also be reached by following SR 33 north of Victor, Idaho (where SR 31 meets) for approximately 5.3 miles and turning right (east) onto 3000 South.  Follow 3000 South east to the state line (about 3.25 miles) and turn right (south) where the road tees off.  From here the route follows the state line briefly and then veers eastward into Wyoming.  At approximately 2.0 miles from where the road tees, fork to the left (northward) for another 2.6 miles to reach the trailhead at the end of the road.  Most of the route from SR 33 is a maintained dirt road.
Posing next to the Jedediah
Smith Wilderness Area sign
View across Darby Canyon South
Fork to the Wind Cave entrance


Beginning at the east end of the parking area, the trail crosses the stream and continues generally east in a gradual climb for the first half-mile or so.  After entering the Jedediah Smith Wilderness Area, the trail begins to curve southward into the South Fork of Darby Canyon.  Several large boulders near the stream in this area provide a good resting place along with great backdrops for photography.  The trail then continues into a switchback to a clearing that overlooks the resting place and lower parts of the canyon.  At close to 2.0 miles from the trailhead along a terraced slope, the entrance to Wind Cave comes into view as a slit in the canyon wall across to the southwest.  This view can be misleading in that it appears much altitude would have to be lost in order to cross the canyon to the cave on the other side.  Further along the route, however, the trail crosses the South Fork without any significant elevation loss and continues directly towards the cave entrance.  About a quarter-mile before the entrance a trail branches to the left (southeast) in an open area, which leads to an ice cave higher up.  An impressive waterfall flows just below Wind Cave and its base can be reached part way up the steep switchbacks leading to the cave.  The first part of the cave at approximately 8,850 feet elevation can be entered without technical equipment provided the runoff is low and you bring a flashlight.  Distance from the trailhead to Wind Cave is approximately 2.9 miles one-way with an elevation gain of about 1,820 feet.  The ice cave is about three-quarters of a mile from the trail junction and requires some final scrambling to reach the less-obvious cave.  It is recommended that only experienced spelunkers with the proper equipment enter the ice cave as well as travel further back in the Wind Cave.
Posing near a small waterfall where
the trail crosses the South Fork
Stream flows out of the narrow
opening of Wind Cave

Tuesday, August 19, 2014

Table Mountain

Along part of Wyoming's western edge with Idaho lies the Teton Mountain Range, which offers some of the most spectacular scenery in the world.  The most dramatic views come from the east side of the range, where there are no foothills to block the mighty peaks that reach skyward.  Before there was ever any proposal to designate the area as a national park, the Teton region served as a seasonal hunting ground for the Native American inhabitants.  Later various European explorers arrived and the region became famous for its fur trade.  Today outdoor enthusiasts from around the globe come to take on the physical challenges, and absorb the natural beauty the area has to offer.  About 2.5 miles behind the Grand Teton sits Table Mountain (referred to by many locals as Table Rock), which provides a nontechnical approach for spectacular views in all directions.  Though a long hike in and of itself, climbing Table Mountain can give you a great sense of achievement in the shadow of the main Teton peaks.  This hike is best accomplished when taken during the late-summer to early-fall seasons when the trail is mostly free of snow.
To reach the trailhead from Driggs, Idaho, head east from the traffic light along Little Avenue, which turns into Ski Hill Road and curves northeastward outside of town.  At about 4.0 miles the road crosses into Wyoming at the "Welcome to Alta, Wyoming" sign.  Upon reaching 6.6 miles from the traffic light, turn right (southeastward) onto the Teton Canyon Road and drive to the trailhead near the end of the road.  This is a well-graded dirt road that extends eastward approximately 4.4 miles to the trailhead and a camping ground.
View looking across a meadow towards
the end of the North Fork of Teton Creek
The Grand Teton with Table Mountain to
the right taken from the end of a ridgeline


The trail described in this post begins at the North Teton Trailhead sign located at the east edge of the parking area west of the stream.  Another trail known as the Face Trail begins at the parking area east of the stream, and though shorter, it is much steeper and not officially maintained.  For about the first three-quarters of a mile, the North Teton Trail climbs several hundred feet in elevation and enters the Jedediah Smith Wilderness Area before leveling out some.  Beyond this point the trail passes through alpine meadows and groves of evergreens for about three miles.  Fallen logs were used to cross the stream in several places while boardwalks provide easy access over the swampy areas.  Bear and moose have been observed in this part of the canyon – so keep an eye out for them and take the necessary precautions.  Close to 3.8 miles from the trailhead, the route curves westward and becomes steeper as it climbs the ridge extending west from Table Mountain.  Snow often remains along the upper part of the trail switchbacks well into the summer months.  The top of the ridge is reached at approximately 4.7 miles, which is just under 10,000 feet elevation.  Here you have a splendid view in all directions, including the Grand Teton with Table Mountain off to the right.  This is a good stopping point if you're running short on time and/or lacking strength to hike the remaining distance.  From this point the trail descends slightly and then regains elevation again further along the ridge.  The Face Trail also merges into the route near the bottom of the slight descent.  As you proceed towards Table Mountain the dwarfed clusters of evergreens eventually give way to alpine tundra.  A field of rocks is crossed at one point with several cairns marking the way.  Reaching the 11,106-foot summit of Table Mountain involves scrambling up a rocky slope from the tundra below.  Once on top the feelings of exhilaration kick in – only to realize that the summit of Grand Teton soars just over a half-mile above your head!  Distance from the trailhead to the summit of Table Mountain is approximately 6.4 miles one-way with an elevation gain of 4,115 feet.
The final part of the climb just
below Table Mountain
The Grand Teton viewed from the summit
of Table Mountain – Photo credit: Schmitty

Friday, August 1, 2014

The Outlaw Cabin

The Outlaw Cabin is a structure that was constructed during the 1960s at the edge of a meadow on Mount Jordan.  It was built from downed trees in the area prior to being designated as the Lone Peak Wilderness Area in 1978.  Inside the structure are several cots, a pot belly stove, wall-mounted cabinets, and two small windows.  In October 1997 a surprise snowstorm caught a family off guard on the mountain, and they ended up taking shelter in the cabin until they were rescued.  Today the dwelling is often cluttered with garbage and shows signs of wear and tear, yet it provides a great spot to sit back and enjoy the beauties of Mother Nature.  Though all trails ascending from the Salt Lake Valley are long with many switchbacks, the best approach to the Outlaw Cabin is from the Orson Smith Trailhead in Draper.
To reach the Orson Smith Trailhead from I-15, take the 12300 South exit (Exit 291) and turn east towards Draper along 12300 South (SR 71).  At around 2.0 miles turn right (southward) onto 1300 East for approximately 0.2 miles to the roundabout, and then follow it to head east on Pioneer Road (3rd exit).  One mile east of the roundabout, turn right (south) at the stop sign onto 2000 East and follow it approximately 0.3 miles to reach the Orson Smith Trailhead on the left (east) side of the street.  This area can also be reached from Wasatch Boulevard by turning left (south) onto 1700 East, which turns into the Draper Parkway, and then turning left (southward) again onto 1300 East.
Trail junction along the
Bonneville Shoreline Trail
Bear Creek Bridge just before
the Trail of the Eagle junction


Prior to starting the hike, make sure you have plenty of drinking water as there are only two or three stream crossings along the entire trail.  The trailhead has restroom facilities with drinking water where canteens and water bottles may be filled during the warm season.  Also, it is wise to begin hiking early in the morning to avoid the heat of the sun when it rises over the mountain.  From the trailhead a path climbs the lower bench area past a roadway (which crosses a spillway) to reach the Bonneville Shoreline Trail at approximately 0.7 miles.  At this point you have the choice of taking either the Cherry Canyon Logging Trail (also known as the Bear Canyon Trail) or the Trail of the Eagle.  Both involve seemingly endless switchbacks up the mountainside, yet this mitigates the steepness of the climb.  My recommendation would be to take the Trail of the Eagle up and the Bear Canyon Trail down  as the Trail of the Eagle passes through more vegetation and provides more shade from the sun.  The junction for the Trail of the Eagle can be reached by following the Bonneville Shoreline Trail northward for approximately 0.4 miles where a footbridge crosses the Bear Creek.  Once on the Trail of the Eagle your elevation increases as the trail winds up the mountainside and your view of the Salt Lake Valley broadens the higher you climb.  After hiking at least two miles the trail becomes less steep, and you can rest assured that the worst part of the climb is behind you.  Along the upper stretches of the Trail of the Eagle the path becomes less distinct at times, but it never fades out altogether.  A sign that you are reaching the end of this trail is the granite rocks that appear to the right (south) of the ridge you're on.  Upon hiking to these rocks, the more obvious Bear Canyon Trail picks up and you follow the left (north) trail approximately three-quarters of a mile to the Outlaw Cabin at 9,280 feet elevation.  Carved on the front of the Outlaw Cabin are the words: "Enjoy it, don't destroy it," which is great advice for traveling anywhere in the great outdoors.  Distance from the Orson Smith Trailhead to the Outlaw Cabin is approximately 5.6 miles one-way via the Trail of the Eagle, or 5.4 miles one-way via the Bear Canyon Trail.  Elevation gain is about 4,490 feet from the trailhead.  On the way back down along the Bear Canyon Trail is a nearby spring that can cool you off.
Posing in front of the Outlaw Cabin
near the foot of Lone Peak
Granite rock bowl along the Bear
Canyon Trail not far from the spring

Thursday, June 26, 2014

Bells Canyon

Bells Canyon is the glaciated canyon immediately south of the mouth of Little Cottonwood Canyon.  It runs parallel with Little Cottonwood Canyon for about two miles and then curves southward to its end behind Lone Peak.  Some of the most spectacular scenery along the Wasatch Front can be found in Bells Canyon, which makes it a popular hiking destination.  Lower Bells Canyon Reservoir lies at the mouth of Bells Canyon where much of the surrounding land was purchased by Sandy City to protect the watershed.  The reservoir is a popular "catch and release" fishing spot for families with small children.  Two waterfalls in the canyon often attract hikers, particularly during the spring runoff as huge amounts of water thunder onto the rocks below.  Extreme caution must be exercised around the swift-moving water to avoid potentially deadly accidents that have happened at the waterfalls.  Along the north rim of Bells Canyon are some impressive slabs of granite known as the Bell Towers, which often attract rock climbers.  While most maps and guidebooks list it as "Bells Canyon;" most of the signs in the area refer to it as "Bell Canyon"  so you are probably safe in referring to it either way.
There are actually two trailheads leading to Bells Canyon; the Boulders Trailhead along Wasatch Boulevard and the Granite Trailhead along Little Cottonwood Road.  Both trailheads can be reached by taking the 6200 South exit (Exit 6) off of I-215 and then turning right (at the light) onto Wasatch Boulevard (SR 190).  Continue south along Wasatch Boulevard past Fort Union Boulevard (7200 South), which turns into SR 210.  At 2.2 miles past Fort Union Boulevard, fork to the right and stay on Wasatch Boulevard for another 1.2 miles to reach Little Cottonwood Road (SR 209).  Turn left (southeastward) at this point for about 0.1 miles to reach the Granite Trailhead on the right (south) side of the road, or continue 0.6 miles further along Wasatch Boulevard to reach the Boulders Trailhead on the left (east) side of the road.  This same area can be reached from I-15 by taking the 9000 South exit (Exit 295) and turning eastward towards Sandy along 9000 South (SR 209).  Follow SR 209 to the intersection of Little Cottonwood Road and Wasatch Boulevard (approximately 6.0 miles from I-15).
View looking south over Lower
Bells Canyon Reservoir
The lower falls of Bells Canyon


The calculations for this hike are measured from the Boulders Trailhead since it was the route I took.  From the parking area this trail weaves through a neighborhood and then crosses a stream at approximately 0.25 miles.  Beyond the stream is a steep section that eventually levels out before reaching the Lower Bells Canyon Reservoir at about 0.45 miles.  With an elevation gain of approximately 450 feet from the trailhead, the lower reservoir provides a great short hike for fishing or to simply enjoy a picnic in the shade of the trees.  To reach the Bell Canyon trail, follow the road to the left around the north end of the reservoir  past where the Granite route joins in and look for the sign on the left (east) that indicates the trail.  After following the trail for about 0.5 miles a footbridge crosses the stream, and you then take the left (east) trail to continue up the canyon.  Upon entering the Lone Peak Wilderness Area, the trail begins to get much steeper and rockier as you get closer to the lower waterfall.  In the vicinity of the lower falls, the trail is a little distant from the stream so you don't really hear the roar of the waterfall nearby.  Look for a huge pine tree along a steep section of the trail with a well-worn trail around it leading to the left (north).  The GPS coordinates I have for this point are: 40.56031° North, 111.76964° West (NAD-27).  This lateral trail extends for 100 yards or so to reach the lower waterfall at around 6,650 feet elevation.  Exercise extreme caution when hiking near the waterfall as much of the rock is wet and slippery from the water.  Continuing along the main trail above the lower falls, the granite slabs of the Bell Towers come into better view along the north rim of the canyon.  Approximately 0.6 miles beyond the lower waterfall is the upper waterfall of Bells Canyon, which is about 800 feet higher in elevation than the lower falls.  In some ways the upper waterfall is more impressive than the lower waterfall, and there are fewer people at the upper falls.  The key indicator for finding the upper falls is to take the left trail towards the stream after hiking over a huge, smooth granite rock along the main trail.  Following the main trail further eventually takes you through a meadow and up to the Upper Bells Canyon Reservoir.  Distance from the trailhead to the upper waterfall is approximately 2.75 miles one-way with an elevation gain of just over 2,300 feet.
Looking up at the Bell Towers from
the main trail above the lower waterfall
The upper waterfall of Bells Canyon
about 0.6 miles beyond the lower falls